✓ Settings
This section lets you configure key aspects of your points campaign website. From naming your campaign to managing identity settings and connecting a custom domain, all the essentials live here.
Campaign Settings
This is where you configure the main identity and access settings of your campaign.
- Campaign Name: The display name for your campaign for yourself.
- Unique Campaign Identifier: A system-generated unique slug used in your staging URL.
- Staging URL: The public URL where your campaign is hosted before connecting a custom domain.
- Primary Identity Type: Select how users are identified (e.g., ETH Address, Twitter, GitHub).

Campaign Settings
Custom Domain
Want to use your own domain instead of the default staging link?
Register a Domain
• Purchase your subdomain from any domain provider (e.g., Google Domains, Namecheap, GoDaddy).
• Keep your domain dashboard handy for DNS configuration later.
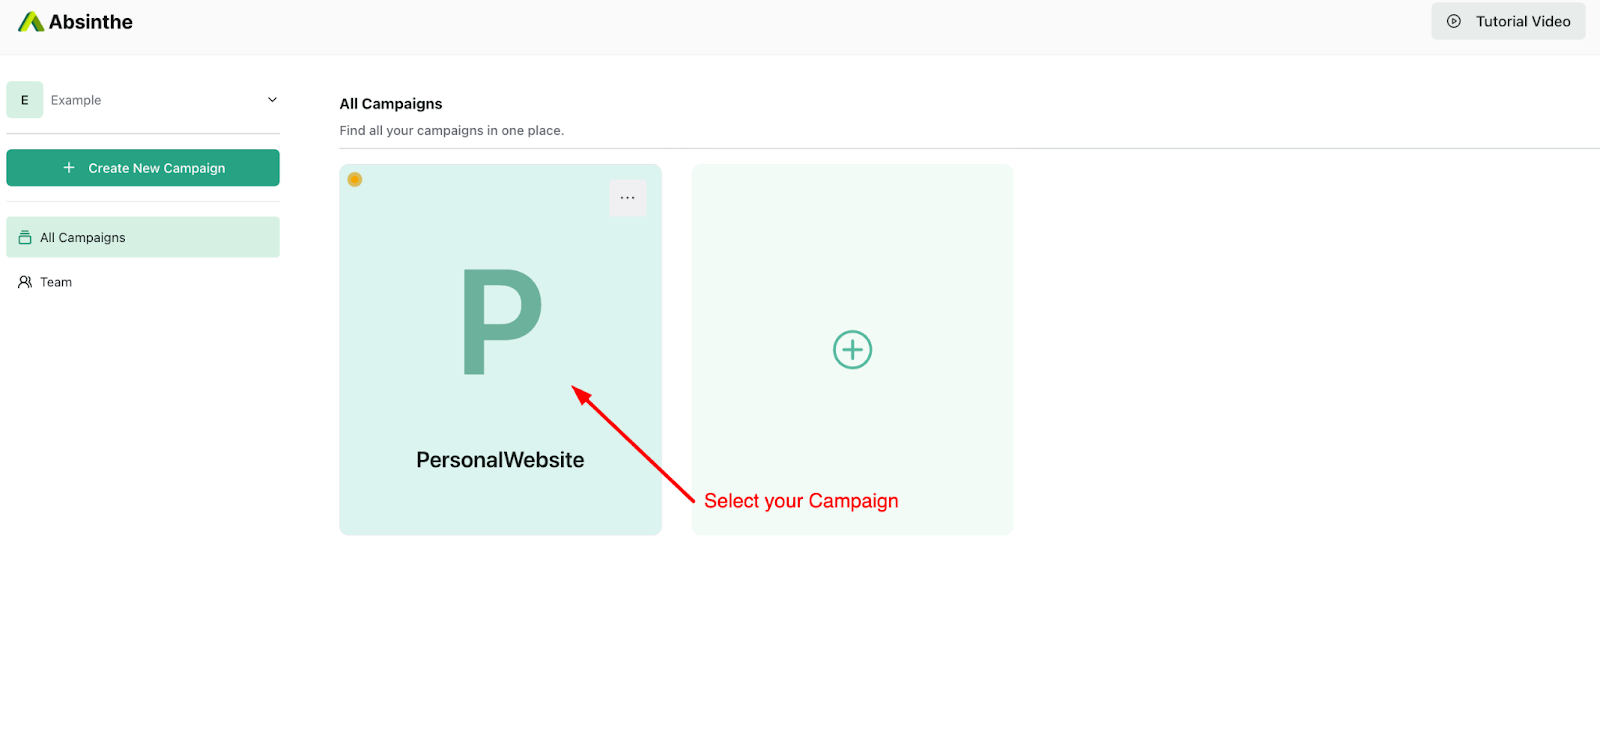
Go to Your Campaign Settings
• Log in at Absinthe Dashboard
• Select the campaign you’d like to configure.
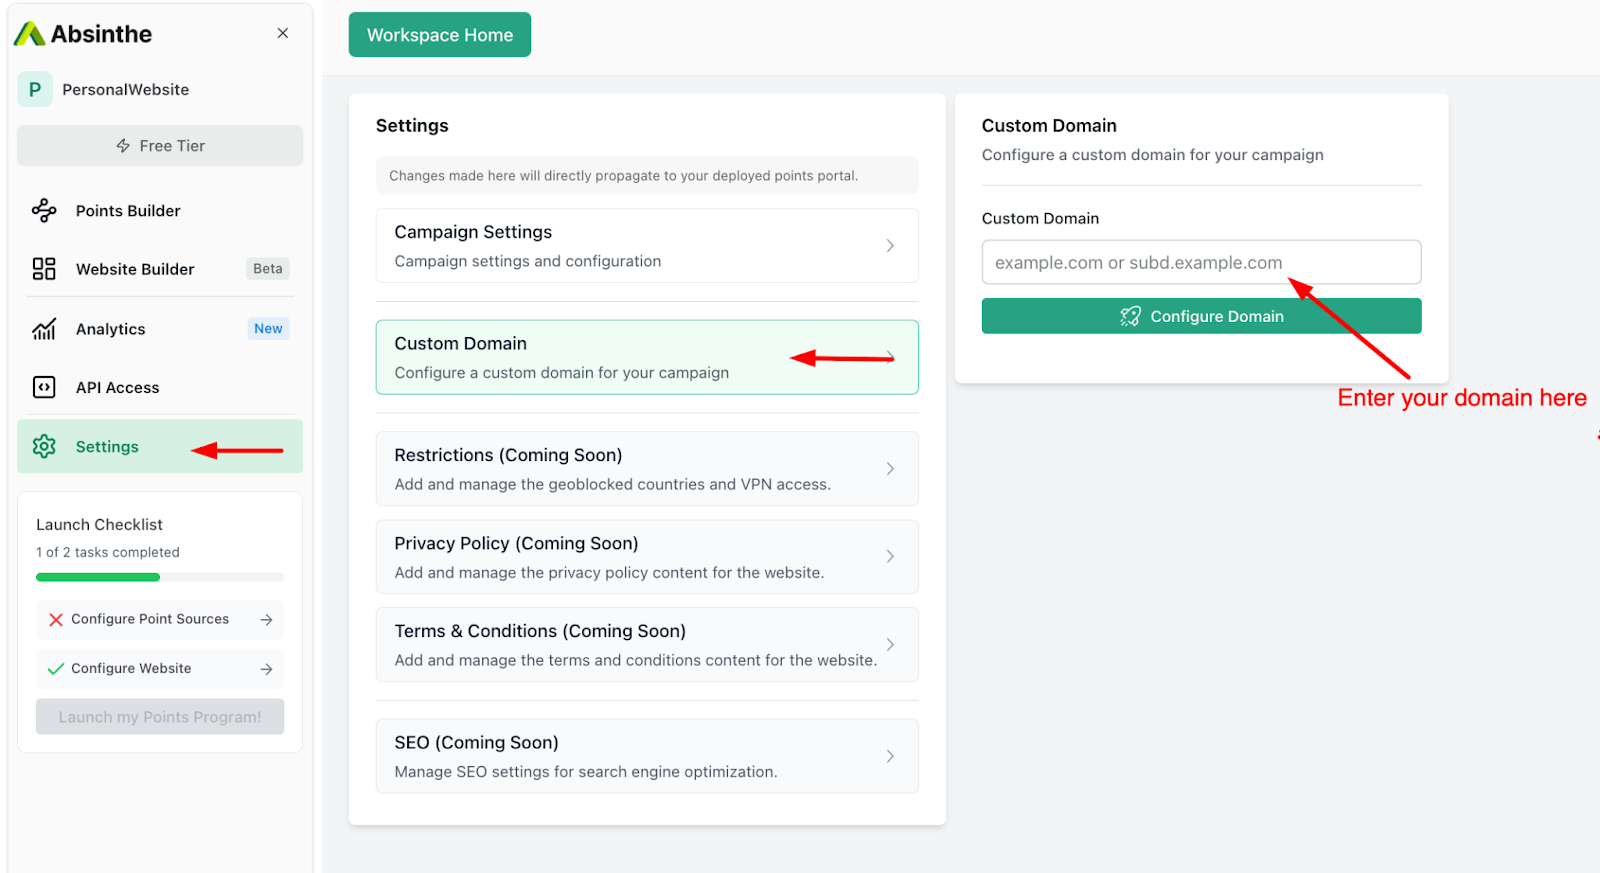
Add the Custom Domain
• Scroll to Settings → Custom Domain
• Enter your domain (e.g., yourname.xyz)
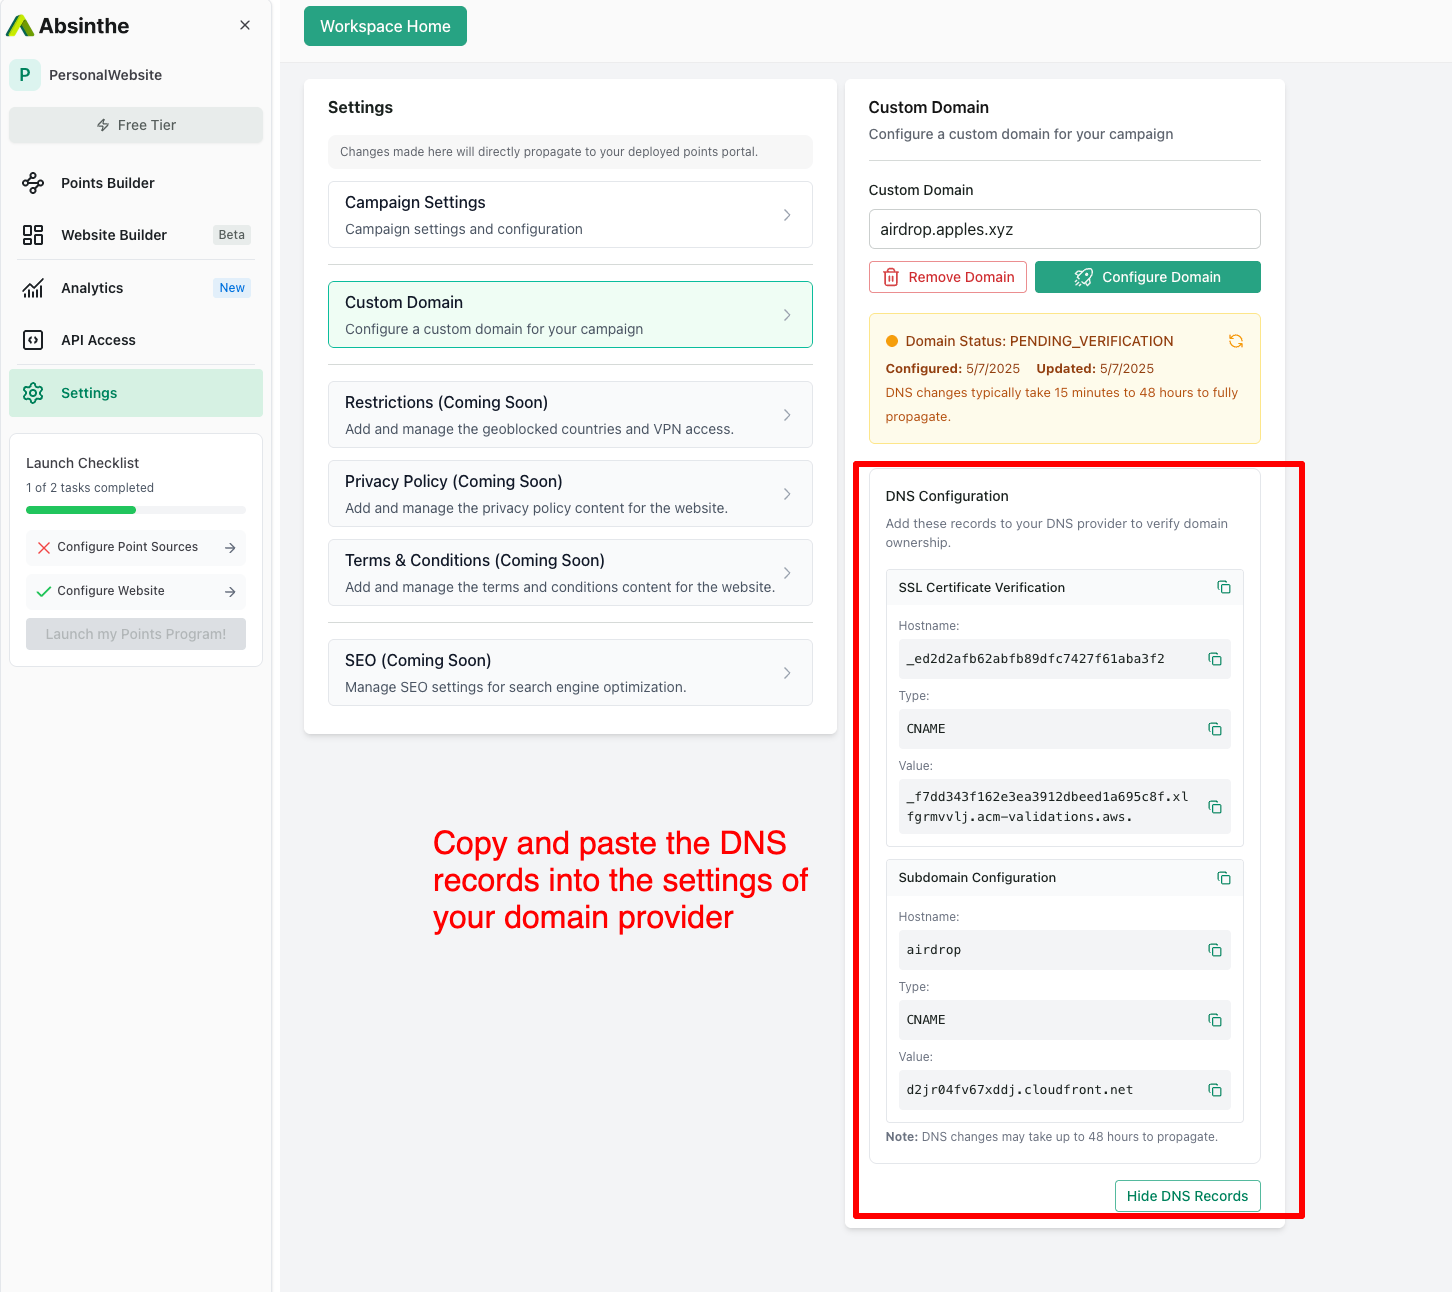
Copy the DNS Records
• Once the domain is added, your status will show PENDING_VERIFICATION
• Copy the DNS records provided.

Update Your DNS Settings
• Head over to your domain provider’s DNS panel
• Paste the DNS records as instructed.
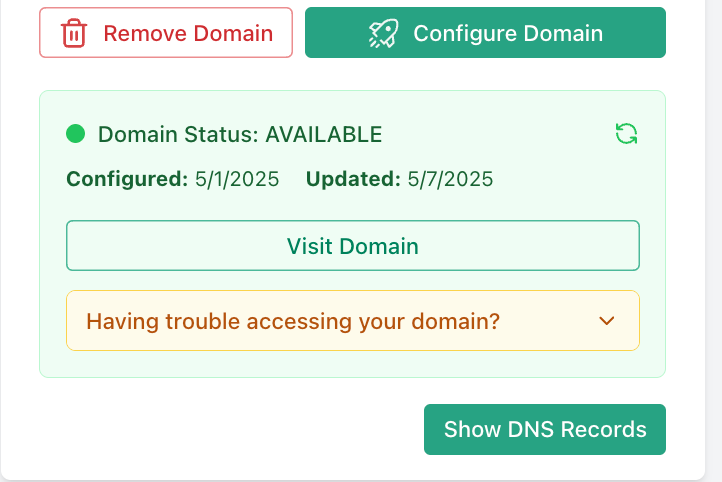
Verify
• Back in Absinthe, refresh the verification status.
• DNS propagation can take up to 48 hours. Once verified, your domain status will show Available.
✅ That’s it! Your campaign is now live on your custom domain.
Coming Soon Features
The following features are currently under development and will be available soon:
-
Restrictions
Limit access by country, IP, or VPN status.
-
Privacy Policy
Add custom privacy documentation to your site.
-
Terms & Conditions
Display your terms of use clearly and in compliance.
-
SEO Settings
Configure meta titles, descriptions, and other SEO-related preferences.